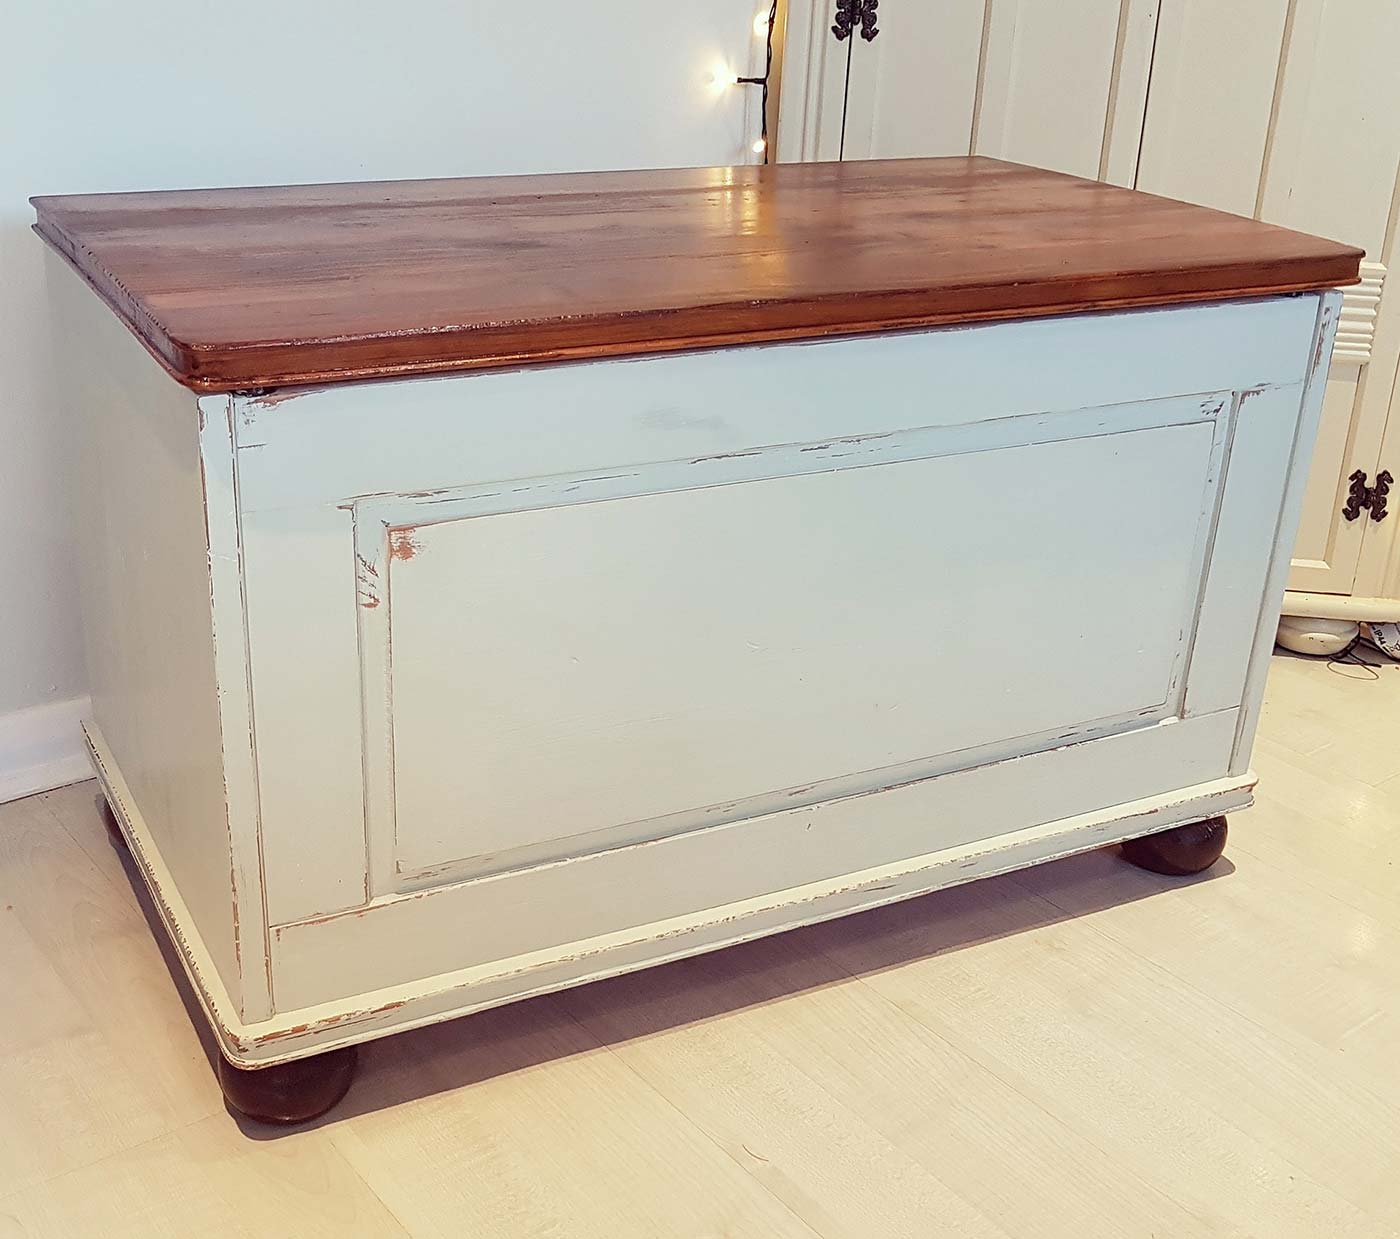
This week I finished my first attempt at distressing furniture and I’m really pleased with the results! I started painting this blanket box with the intention of it being quite plain with a varnished top and suddenly on Saturday morning I found myself with the sandpaper in my hand rubbing away at the edges!
Here’s my quick step by step guide to help you with your own projects,

Step By Step
1) Sand down & Clean – Prepare your furniture first by giving it a rough sand down. As you may know when using chalk paint you can afford to be a little less fussy with how well you prepare the surface as it will literally apply and stick to any state of wood. However best practice is to sand off the dirt and clean it away. For this piece I sanded down the top of the box and the feet until they were stripped right back, as I knew I wanted to give them a clean varnish finish. With the sides of the box I just gave them a quick once over with the sander and a clean with white spirit.
2) Prime – Again, with chalk paint, priming the surface isn’t essential. However if you aren’t using chalk then priming may be a sensible idea as it will save you applying too many coats of paint later on.
3) Paint – For this piece I mixed together two shades of chalk paint to create a subtle shade of duck egg and applied two coats.
4) Distress – The fun part! Take a sheet of fine sandpaper (I used a 120 grit) and use it to take the paint off gently at the edges to begin with. Take care not to remove too much as you want it to look authentic. Sand paint away from areas that look like they would be affected from natural ageing and wear and tear. The edge along the bottom of this blanket box was a perfect starting point for me with this piece. Take advantage of any bumps or scratches to your furniture, they will only add to the aged look! Table legs, draw edges and around handles or draw knobs are also a perfect place to add an aged look to your furniture.
5) Wax – As always, finish your piece with a coat, or two, of clear wax. When using chalk paint this is an essential step as waxing will completely change the texture and finish of your piece for the better. Not only will the wax create a perfect finish, it will help to protect the paint, particularly around the areas you have distressed.

I hope you have found this step by step helpful, I’ll definitely be doing more distressing in future! I think my next project may include some stencilling so perhaps I’ll try the distressed style with that!

Leave a Reply