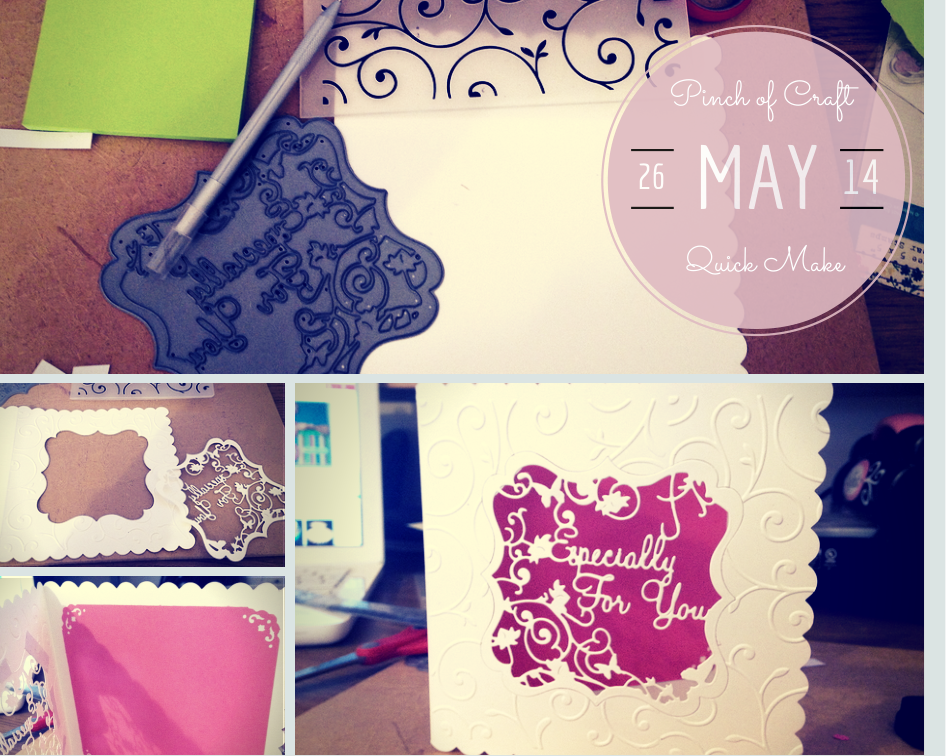

I’m super excited to be sharing this Quick Make Card with you today! It literally took me no time at all to make once I’d decided what craft tools I felt like using! I think its a great idea to have some quick and easy card ideas up your sleeve incase you ever find yourself in an ‘Oh gosh I must send a card to say thank you as soon as possible‘ situation – which is exactly where I was this week!
Tuesday was my birthday and this weekend I really needed to get some thank you cards sent out to my family but I’ve been focusing all my craft inspiration on my new Project Life album, so much so that I wasn’t feeling too inspired to make any cards (bad I know but have you seen how amazing Project Life is!?). So I opted to make this cute ‘Especially for you’ card that I’ve made before – I’m not usually a card repeater but I do love this design and it deserves to be sent to more than one person right!?
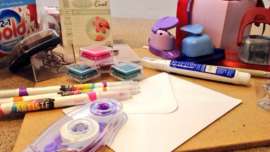
Here’s What You’ll Need:
- 4X6 Card (I cheated a little as I used a pre-folded card and this particular one already had the cute rounded design down the sides)
- Sizzix Embossing Folder
- Tattered Lace ‘Especially for You’ Die
- Big Shot Machine (or similar cutting machine)
- Coloured Card
Four Easy Steps:
- Take your Tattered Lace die and line it up so its central on your card base, once you’re happy with its position tape it to your card using a sticky note (I find these hold dies on to card perfectly and they don’t leave a sticky mark behind!) run this through your cutting machine.
Make sure you pass it though several times to ensure the die has cut through completely. There is nothing worse than finding its half cut through and having to line it all up again!

- Now you should open your base card and line it up in your embossing folder. I only have A5 embossing folders which is smaller that the 4X6 card so once I’d embossed one half of my card front I had to line it up and do the other section. As this embossing pattern is quite random this didn’t matter too much, just be sure to match it up the best you can for a better finish.
- Take some scrap card and cut it into short thin strips (approx 6 pieces) and apply double sided tape to them. Try to use scrap card that matches the colour of your base card so its not easily seen.On the inside of your card line up the ‘Especially for You’ die cut card and stick it to the base card using the sticky strips you have just made.
- I cut some pink card and added it to the inside of my card to add a bit of colour. This also helps the die cut text standout more. Use any colour you think your receiver will most enjoy!

I really do love this card, I’ve used it before and I’m sure I’ll use it again perhaps for a birthday next time..
Do you have any card designs that you just love and could use again and again?

Leave a Reply