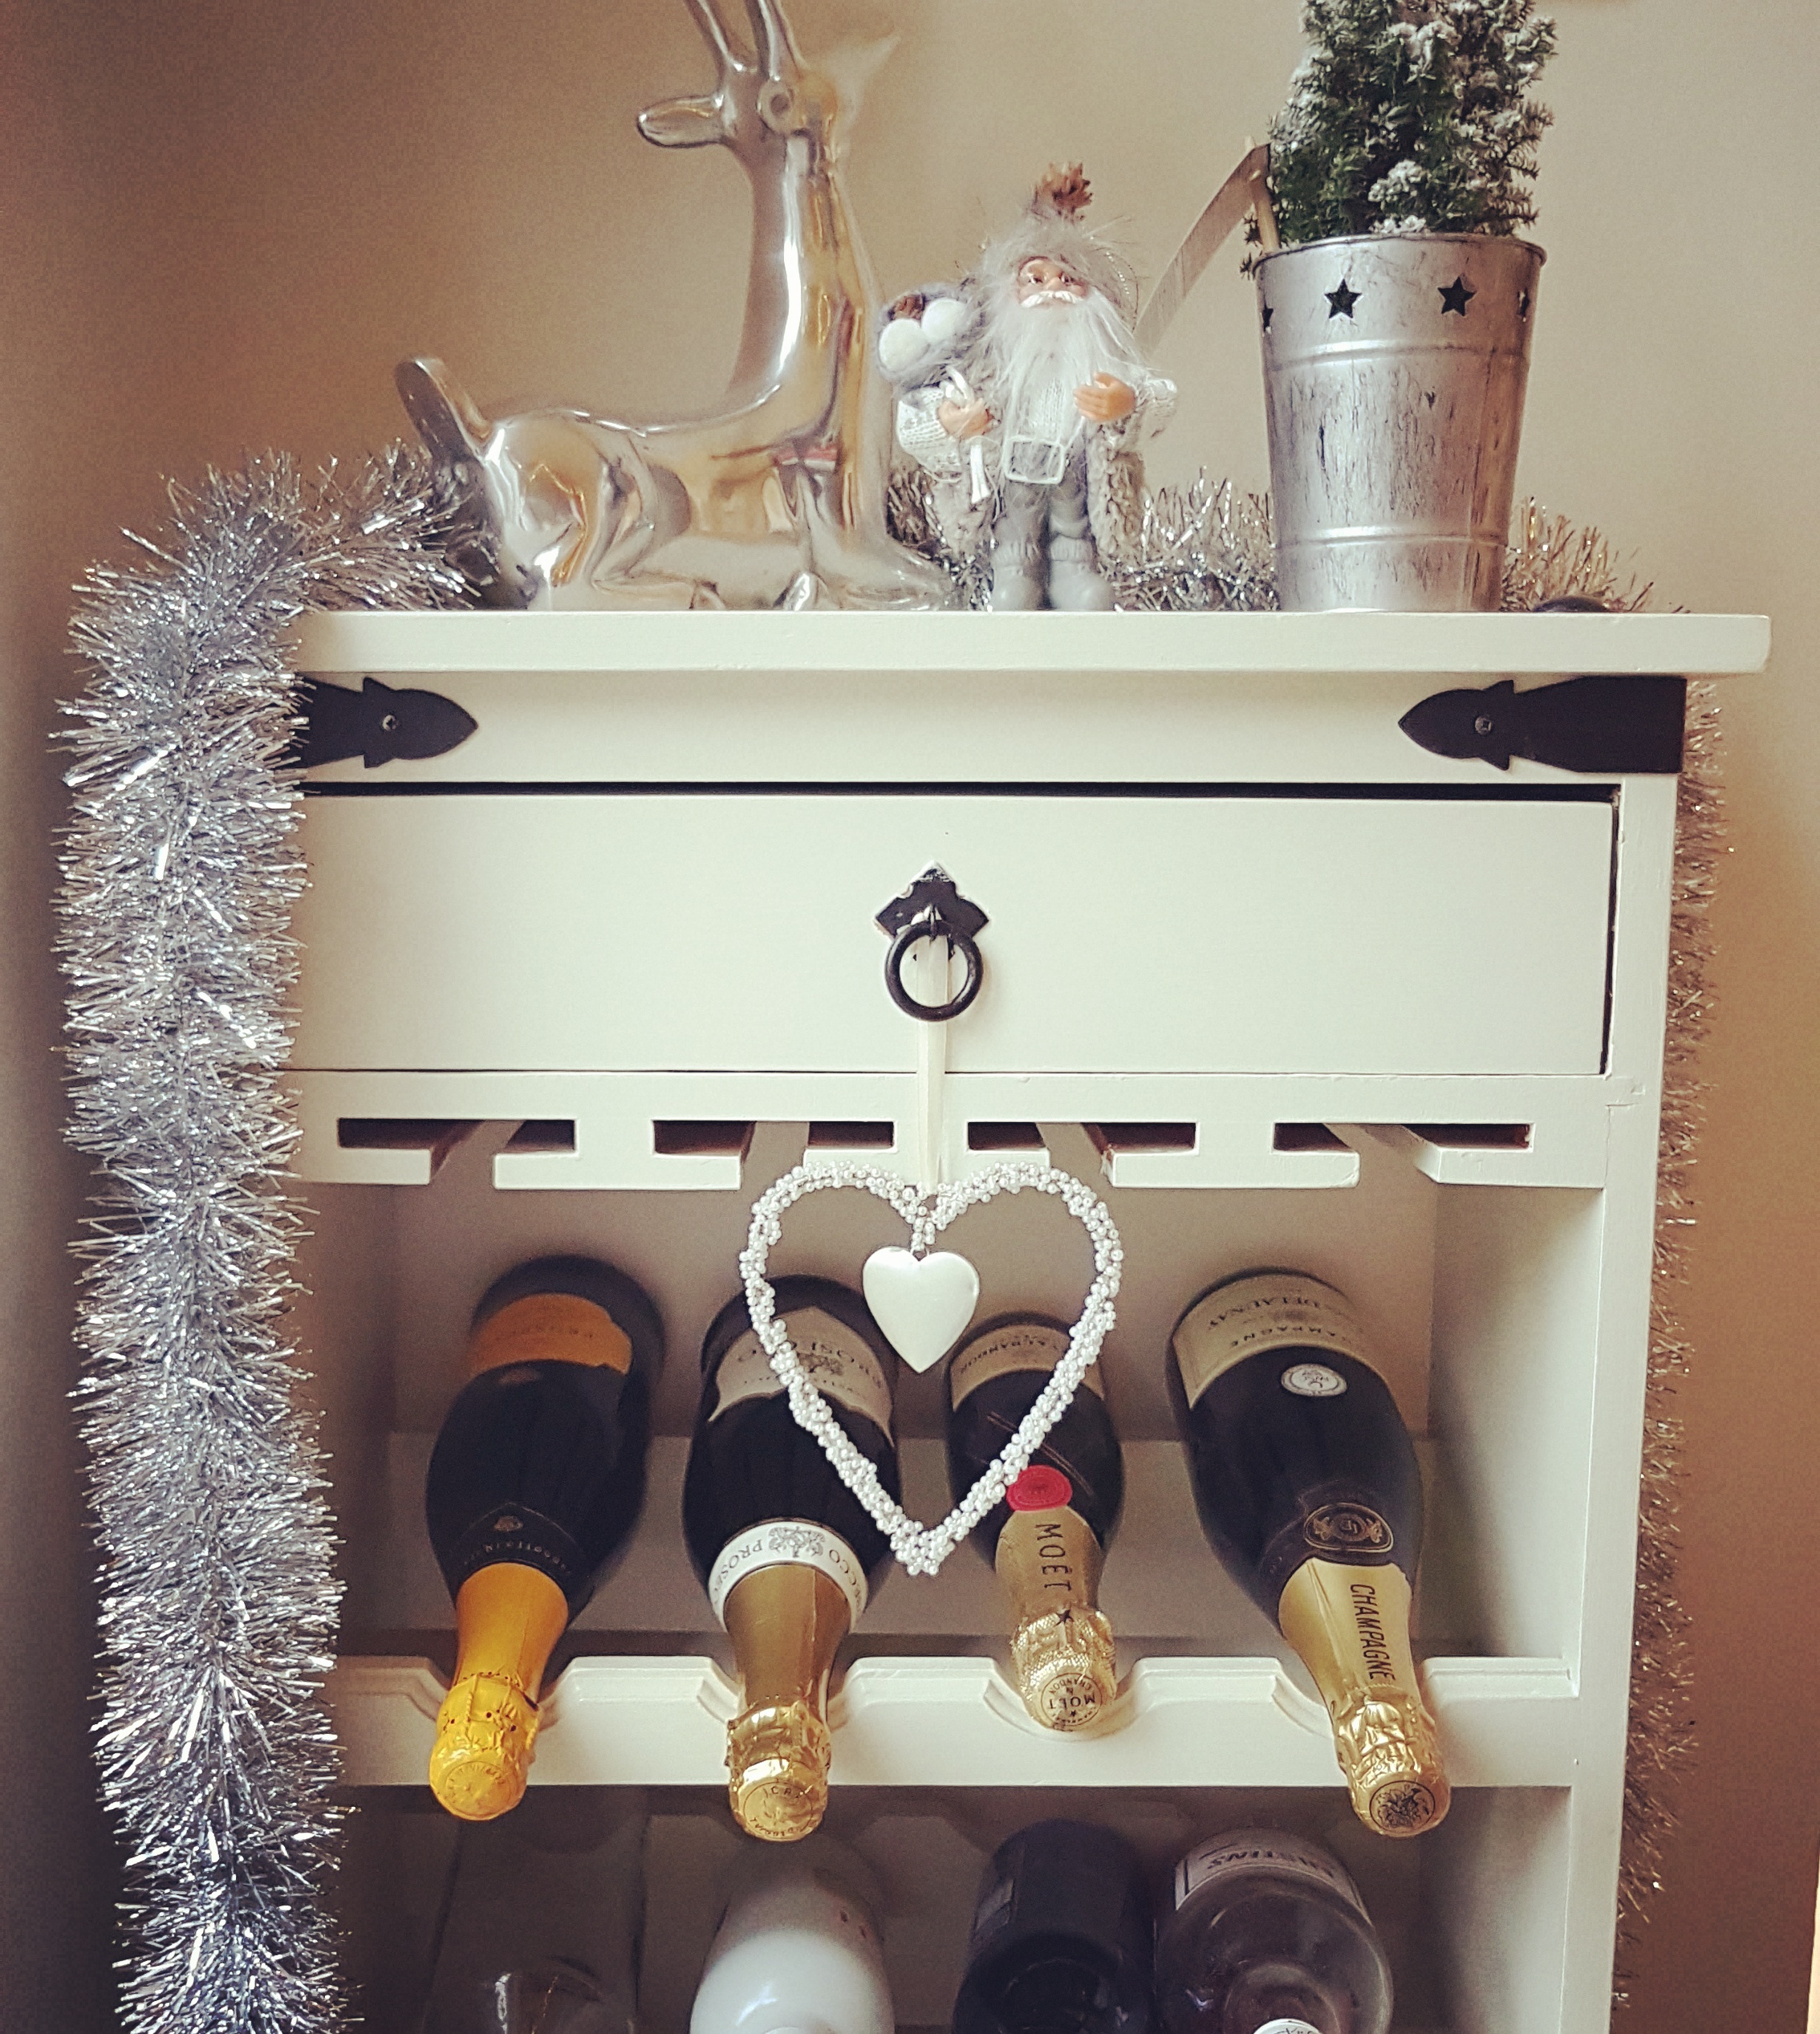
I have completed so many beautiful projects recently and it’s not often that I actually get to keep them! So I thought I would share a quick ‘how to’ guide to upcycling furniture using my lovely wine rack as an example!

1. Remove Accessories
It’s important to make sure that you remove any part of the piece that you do not want painted, such as draw knobs, handles and hinges before you start. This will ensure that they are kept clean and also means they won’t get in the way when you are trying to sand. If it’s not possible to remove the draw knobs or handles for example, you can cover them safely in masking-tape to protect them.
2. Sand it down
The type and condition of wood you are painting will determine how much you will need to sand it. For example darker wood will require a good sand down particularly if you are using a lighter paint. Equally if your piece of furniture has dents and scratches then it will benefit from a good rub down. You should also determine the coarseness of the sandpaper you use by the type of wood. Darker woods will typically require a coarser paper than lighter woods and you can always move to a softer grain as you progress.
If your furniture is in a good condition similar to my wine rack, then you can get away with going straight to painting. However you should keep in mind that this may mean you might need to add an extra coat of paint. (I didn’t actually sand down my wine rack and the results were absolutely fine!)
3. Prime your wood
It’s best practice to prime your furniture before you apply your chosen paint colour. A coat of primer paint lightens your piece and means that you are more likely to only need one or two coats of your chosen paint.
4. Apply your paint
You’re now ready to apply your chosen paint! My favourite go-to paint at the moment it Farrow & Ball ‘Off White’ I love it because it’s really bright and also has a warm feeling about it. It’s currently the main colour in my kitchen and it look’s so homely!
My wine rack did need three coats of paint, but don’t forget I didn’t sand or prime it and I am using a particularly light paint. If you sand and prime Farrow & Ball paint can get away with two two coats. Sometimes I do give an extra coat of paint to the part of the furniture that you will see the most, for example if I was doing a coffee table, I would definitely do an extra coat on the top surface.
5. Waxing
Once, and only once your piece is completely, 100% dry you can apply a clear wax. The wax protects the paint work and also gives it a smooth buffed feel. It is very important to make sure your piece is completely dry before waxing as you can get into quite a mess with it otherwise. I apply my wax with a rounded bristle brush and use a circle motion to make sure you get the wax into all areas. You then need to use a clean cloth to buff the wax off.
When I first started painting furniture I didn’t use wax. However since I’ve discovered it I’ve not looked back, I love the finish it gives!
6. Finishing touches
Once your piece is completely dry again you can re-attach any bits you removed at the start of the process and find a place for it in your home!

I hope this quick how-to guide give’s you that push to start creating some of your own lovely projects, it’s super easy to do and so rewarding!
Leave a Reply